
Hatteras Interior Rennovation
This past fall we decided to undertake a pretty big project for our customers. We figured we were due for an interior renovation but we wanted to the extra mile rather than settle for new carpet and a few other patches.
Our boat is a 1972 Hatteras and the wood on the interior was beginning to reflect it. In addition, the windows were leaking, the carpet was worn, and the overhead liner was pretty dirty. We decided the best route was to actually paint the entire interior. With supply shortages everywhere, we had to plan this refit for several months so we could get everything done in our designated 4-week window.
Replacing the Windows
To start the project we had to haul out the boat and replace the windows. The windows cost about $7000 which wasn't too bad but we had to install them ourselves. This was a fun job especially while suspended 20 feet off the concrete. We got it done in about 2 days with a lot of caulking and some patience. We also had to fiberglass some of the areas that were damaged by water intrusion around the edges of the windows. Once the windows were replaced and the interior sealed from water intrusion, we were able to begin sanding the interior.
Sanding the Interior
To get a fresh coat of paint on the interior, we had to sand every square inch inside the boat HEAVILY. To ensure a good bond you have to sand away the veneer as well as the many years of oil, dirt, etc. We sanded everything with 80 grit and fared all the holes, scratches, etc that accumulated over the years. We started the sanding in the v berth and began moving aft. The sanding/prep took about 6 days with 3 people. We were simultaneously sanding and painting the bottom of the boat while prepping the interior so we definitely had a lot going on.
Painting the Interior
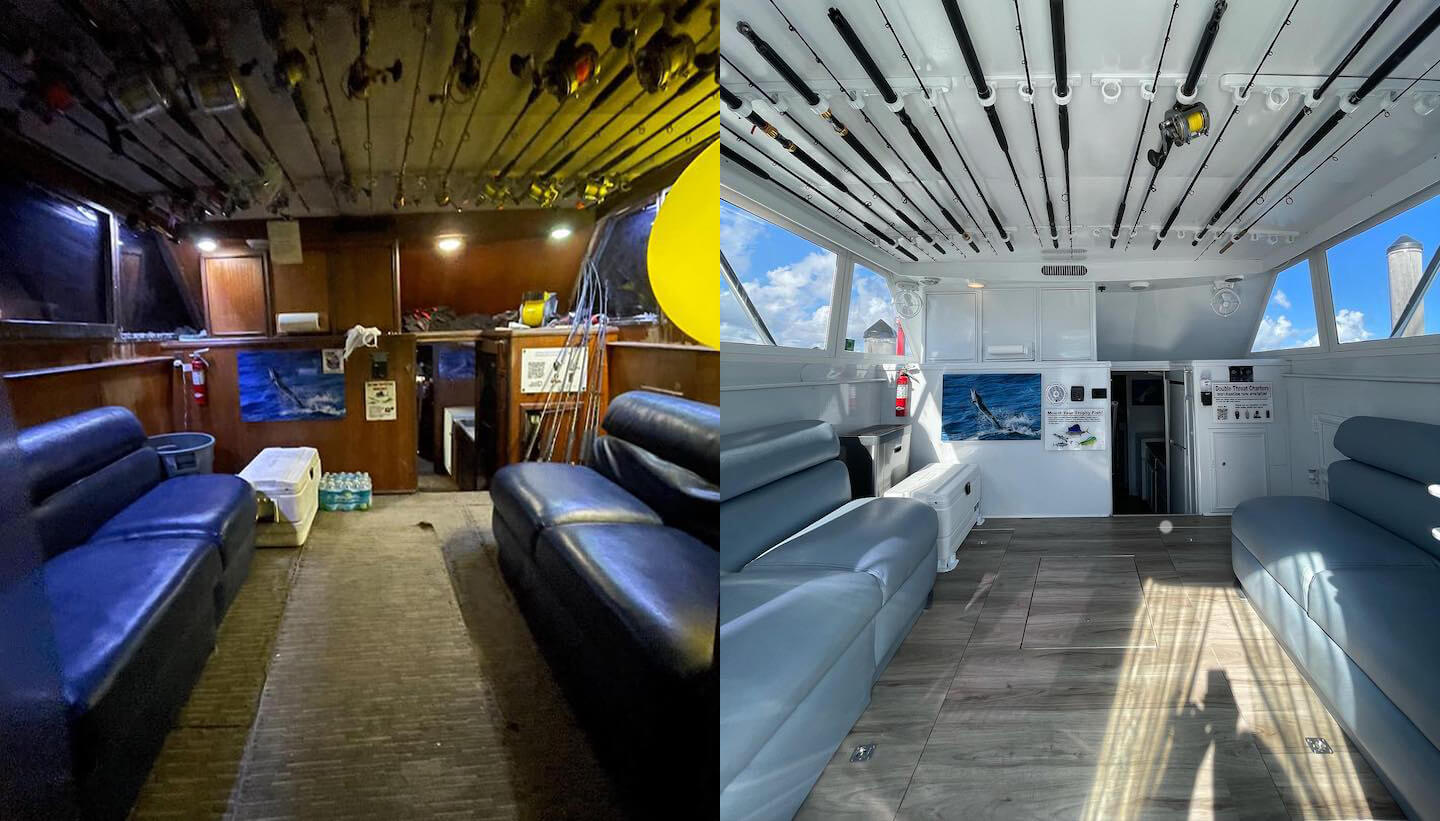
We chose to use Alex Seal for the interior because this is a high-quality paint and we already used it on the exterior of the boat. It has high UV resistance so it is arguably overkill on the inside. Either way, it has such excellent bonding properties in addition to being easy to buff and repair. We decided to stick with it and get it done right the first time. We used a spray gun to apply the paint to the interior as opposed to rolling with all the tight corners, etc. Every room on the boat was hit with 2 coats of primer and 2 coats of topcoat by the time we were done. This took about 4 days once we were done prepping.
Once we were done painting the interior it was time to lay the floor. We decided to go with a vinyl PVC style flooring as opposed to carped for longevity and aesthetics. We were definitely happy with the outcome.
As you can see we also reupholstered the couches and painted the headliner as well.
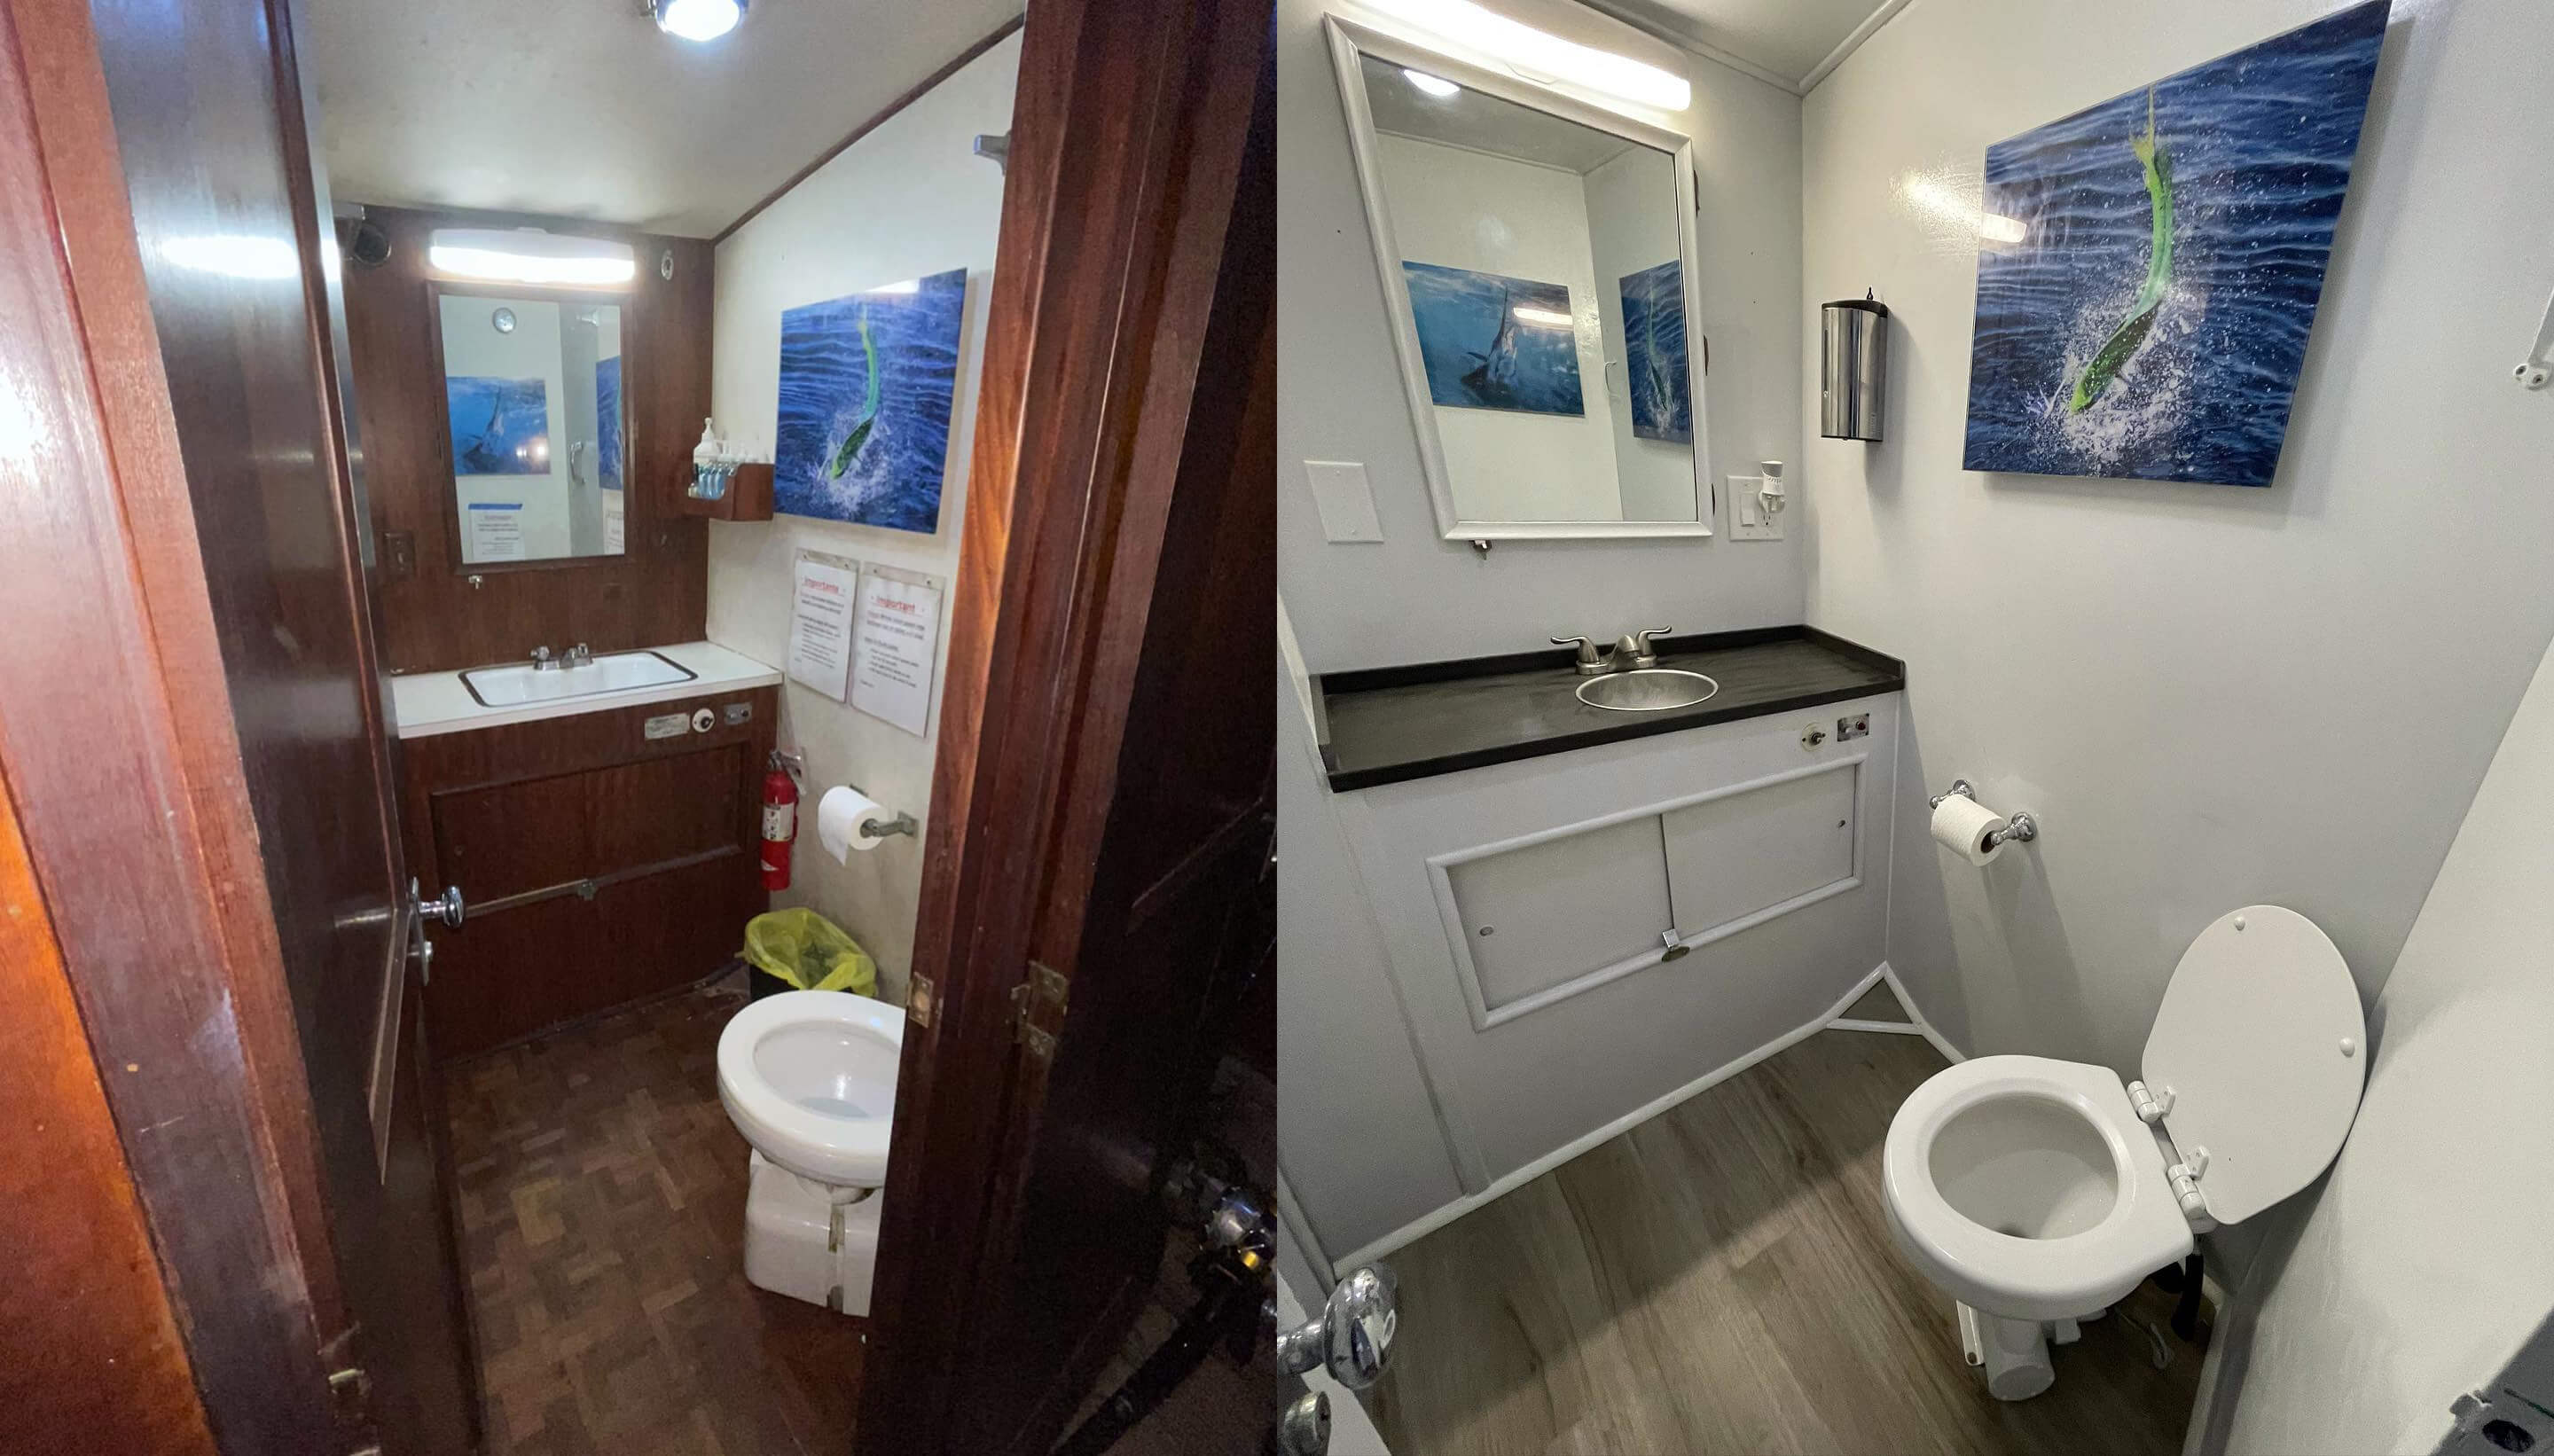
For countertops, we decided to go with Corian because it is lightweight and had quite a few color options. We scrapped the sink in the galley and opted for more countertop space. We also updated the countertops in the bathroom as well.
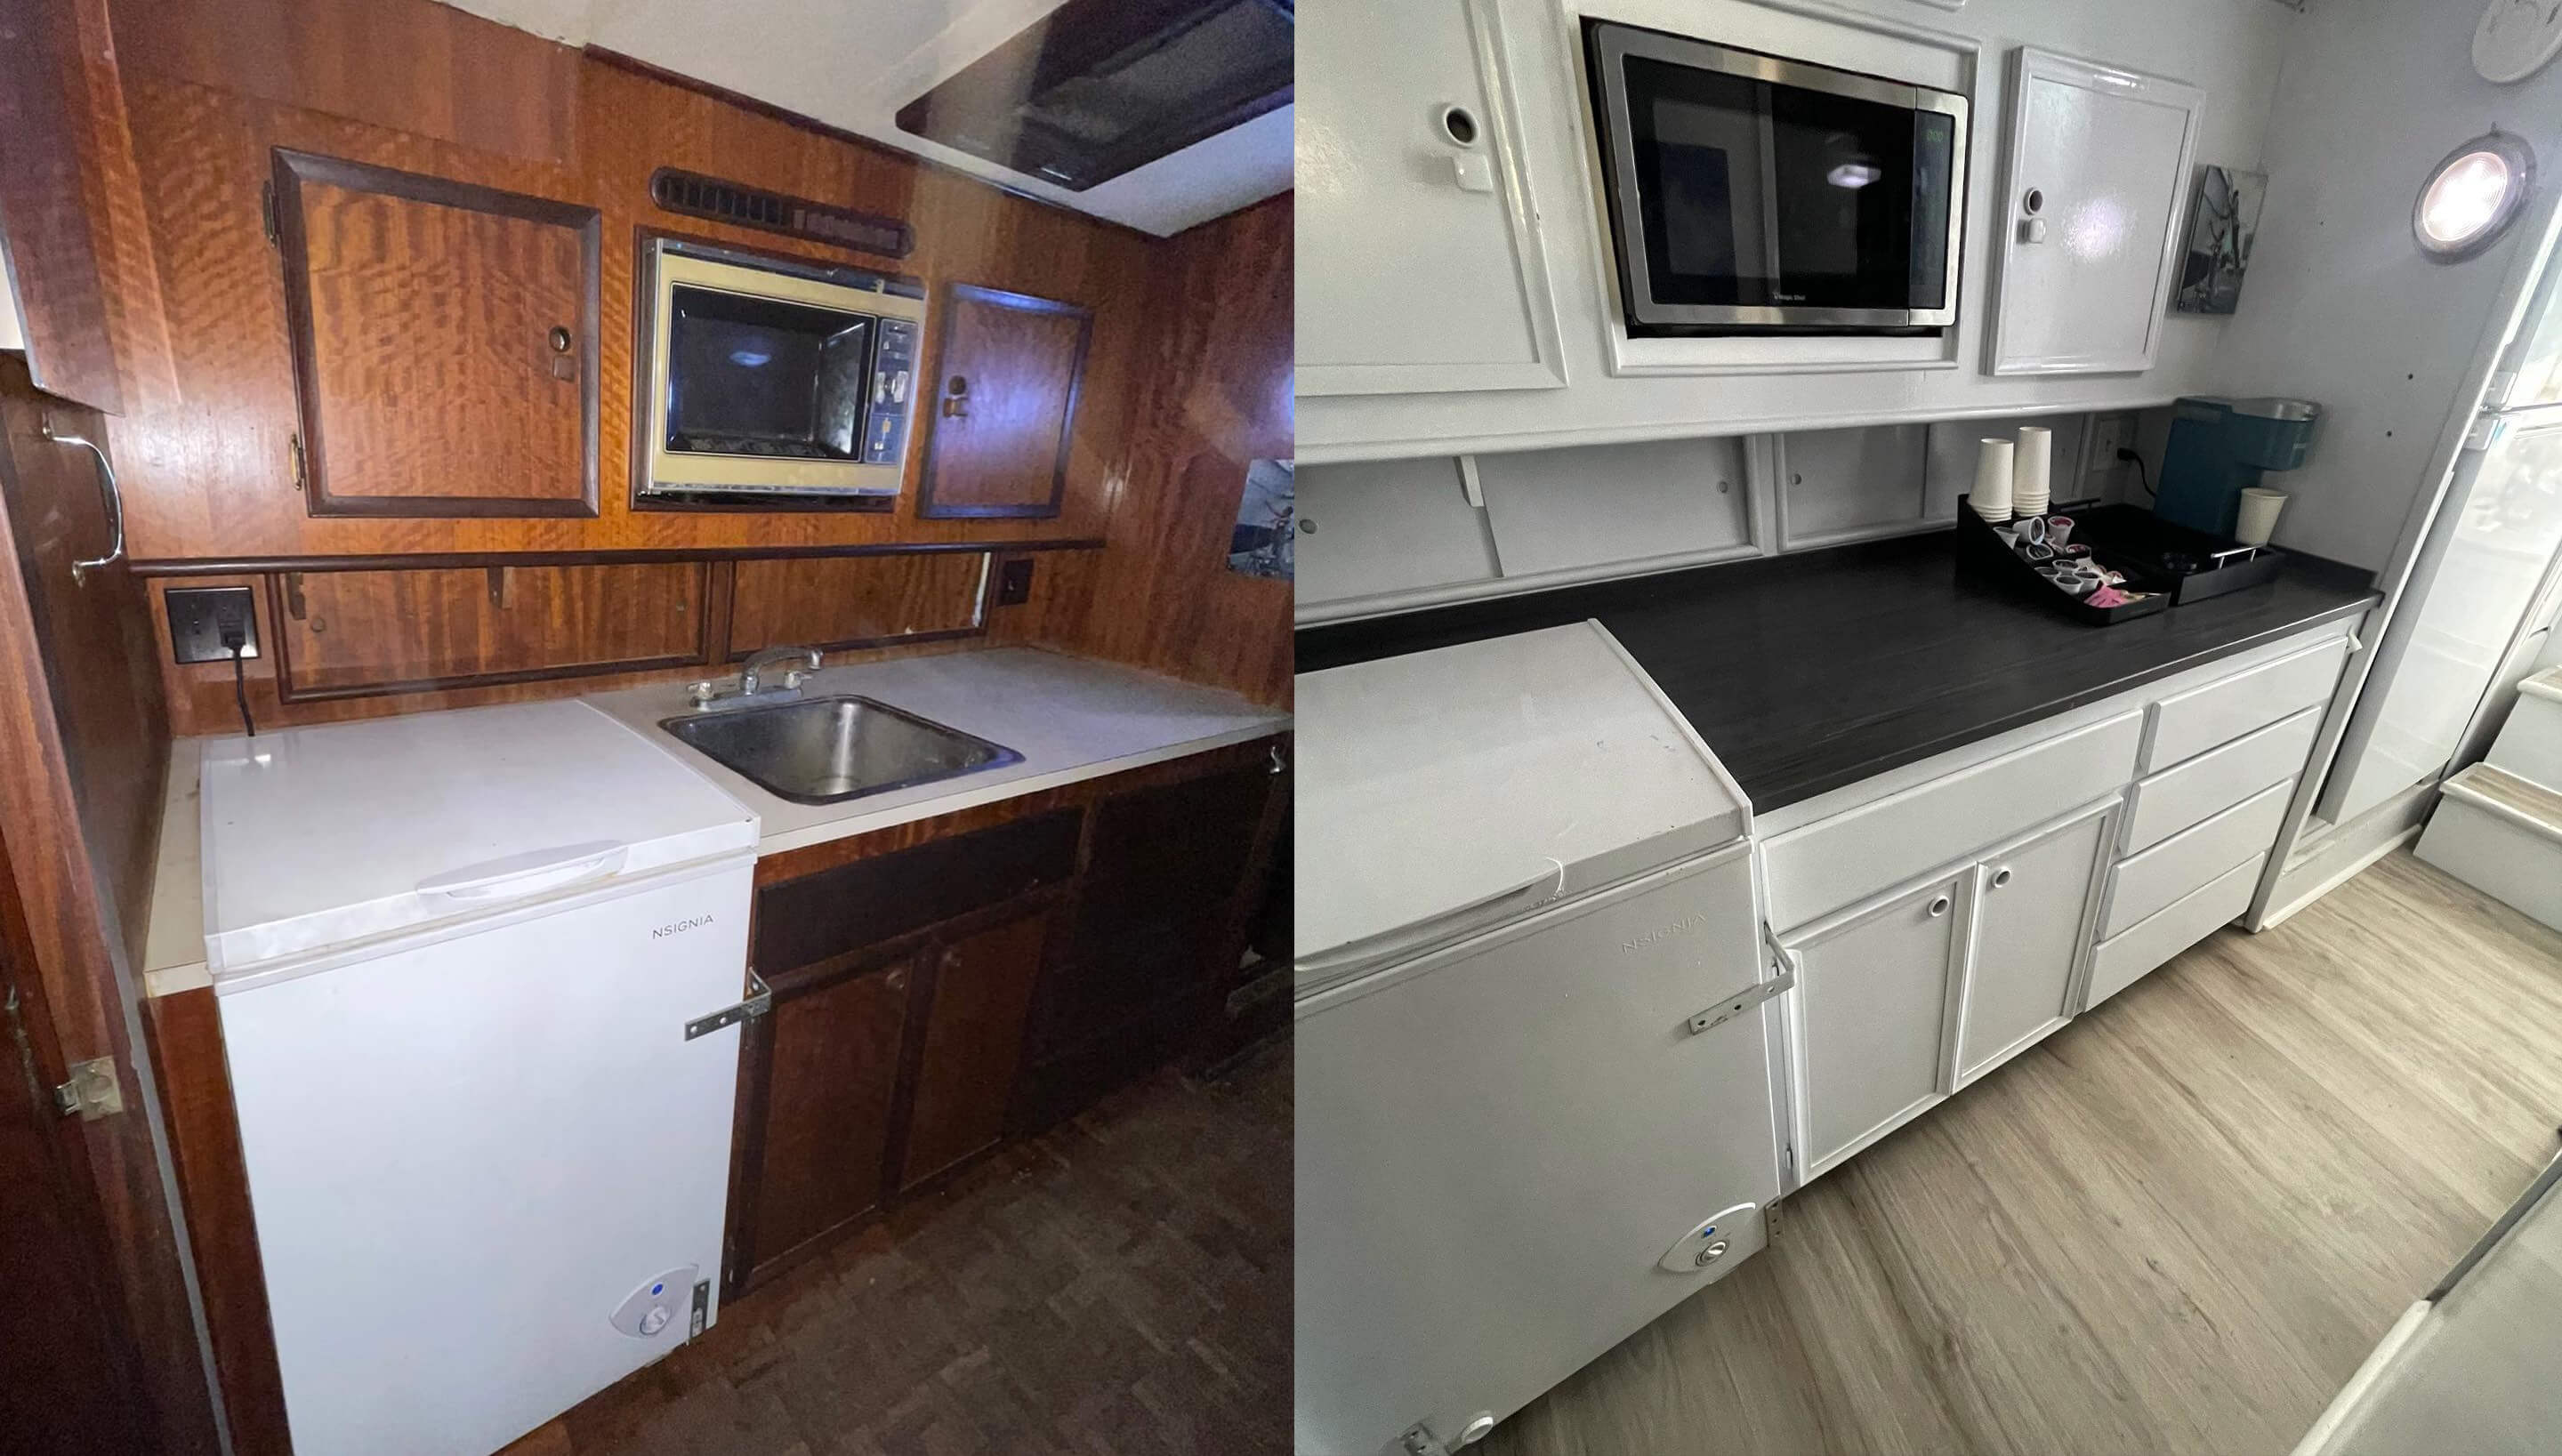
We're pretty proud of our coffee and treat area in the new and improved galley.
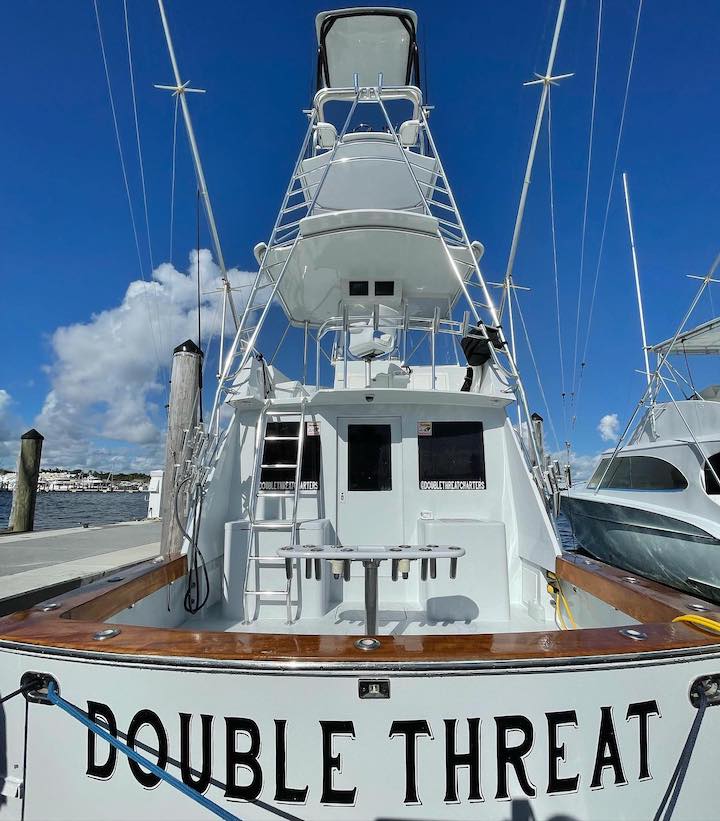
Some TLC on the Exterior
In addition to the interior work, we decided to put a fresh paint of coat on the entire exterior. This was about 5-7 days worth of work but definitely worth the end result. In addition to paint, we redid the upholstery, installed new lighting, and more.
‹ Back
Comments